The Authentication Workflow
In many cases, developers do not pay much attention to how little users actually know about their relationship with a Website, yet assume users will pick the correct authentication workflow out of utterly confusing options.
When a visitor shows up to Website that is not part of their daily routine, but they might have used in the past, they will invariably ask themselves:
- Do I have an account on this Website?
- How do I get in? what is my password?
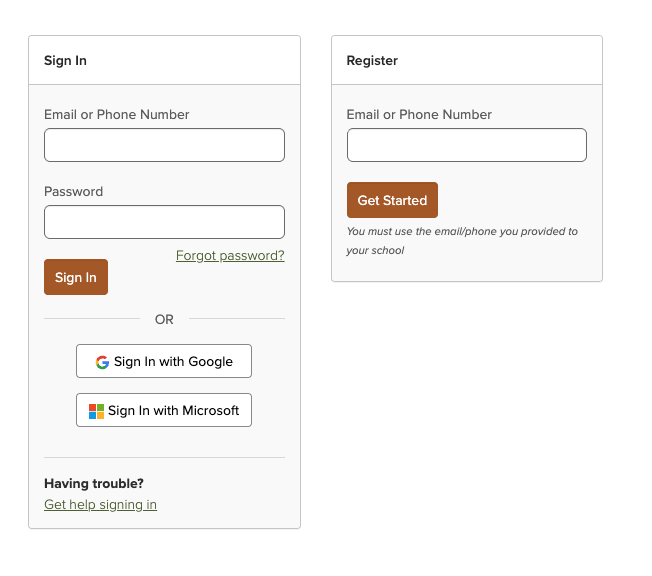
DjaoApp authentication workflow is structured in steps that only present options a visitor can reasonably be expected to follow based on contextual information.
If you prefer to call the auth APIs directly, you will have to design pages and the associated business logic to implement this workflow. You are also free to create a complex and utterly confusing authentication workflow when using the API. The choice is yours.
Identifying a user: Username, email and phone
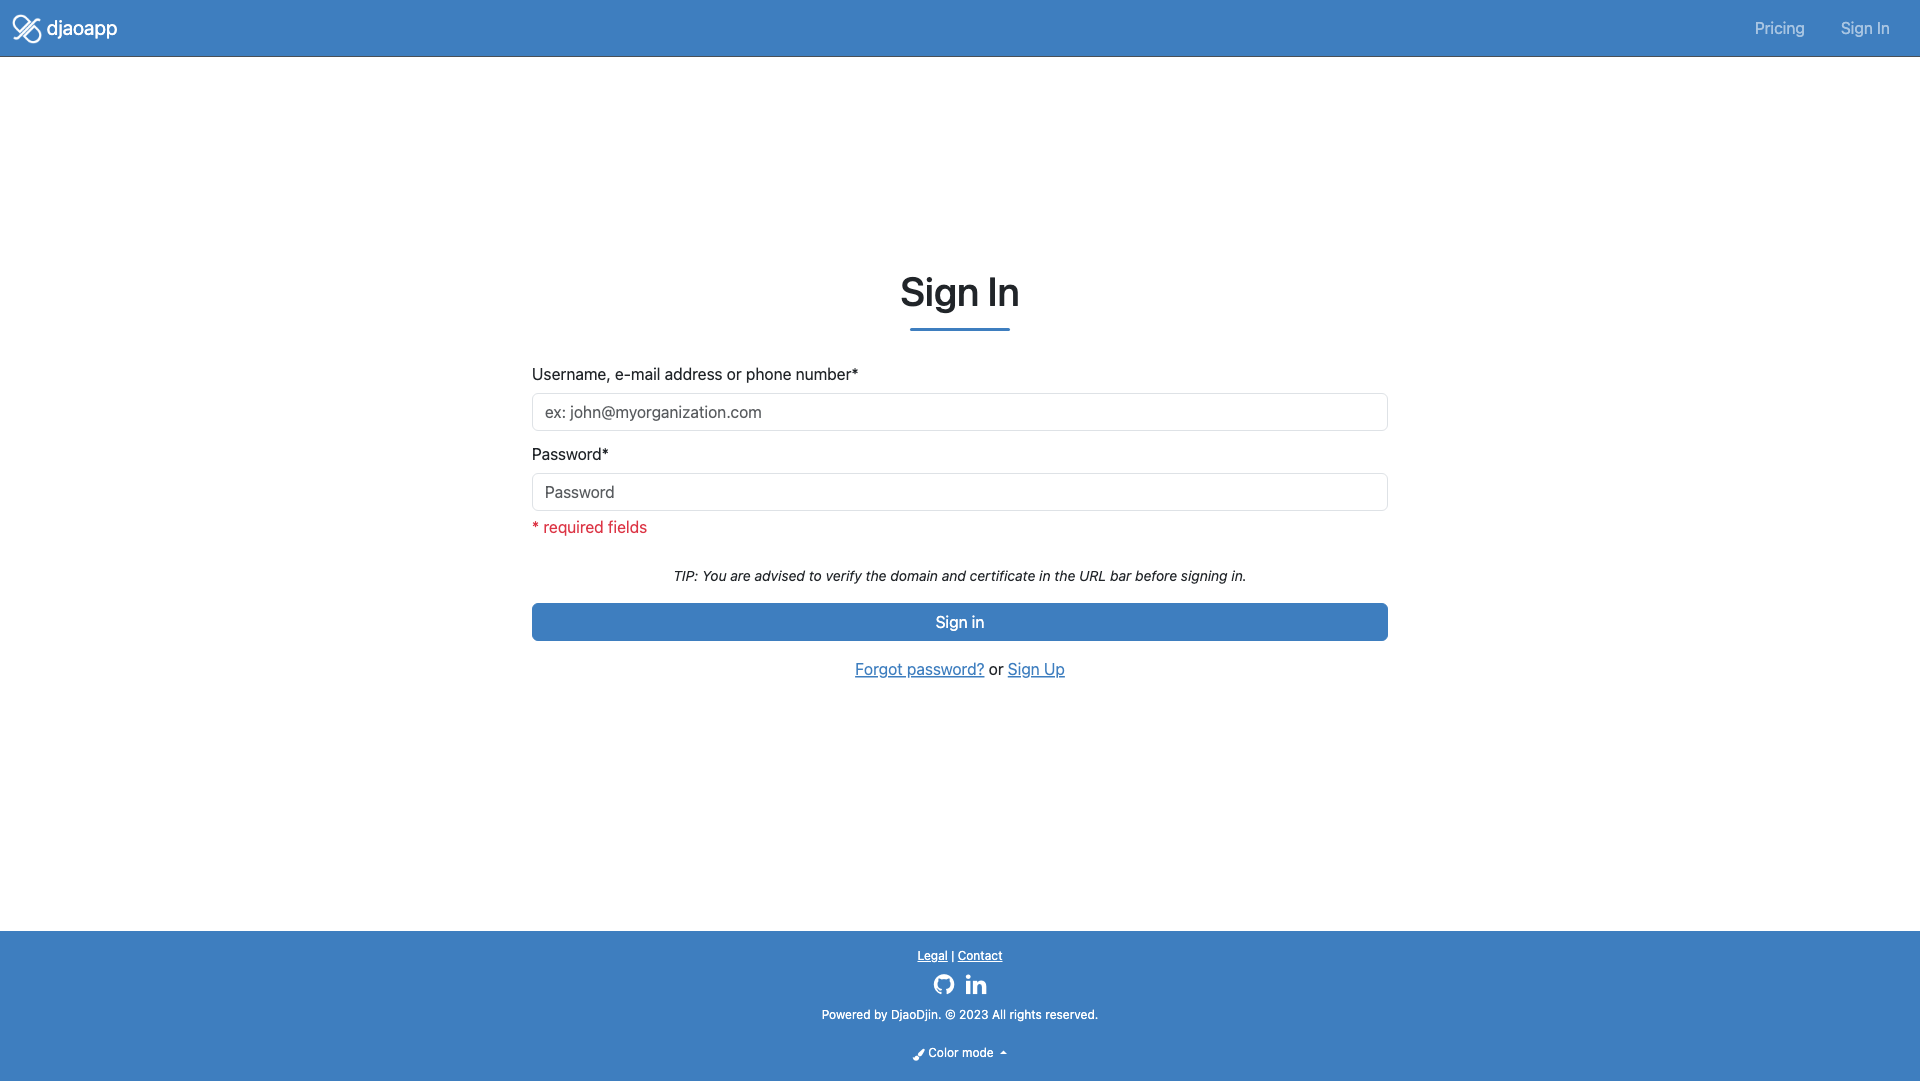
The authentication workflow starts on the login page by identifying a user through a unique username, e-mail address or phone number.
The next steps in the authentication workflow depend on the identified user. Theses steps can either:
- Show login disabled - Login can be disabled for a class of users (How to enable/disable login?)
- Redirect to Single Sign-On (SSO) - specific e-mail domains can be marked such that authentication is delegated to a third-party. This is typically the case in B2B (If you need setup SAML identity providers for your site, please contact us).
- Continue with multi-factor authentication (MFA)
- Show a registration page to create a new user account
Single Sign-On and Social Login
Single Sign-On (SSO) and Social Login, both, delegate authentication to a third-party identity provider. The key difference is that a user whose e-mail domain is identified to require a SSO workflow must authenticate through the third-party SSO provider. Social Login is a convenient workflow for users that prefer to authenticate through a third party (ex: GMail). It does not prevent users to register a full-blown account with your Website and use djaoapp multi-factor authentication workflow instead.
Multi-factor authentication
Your site provides three method of authentication (password, e-mail verification, phone verification) that can be followed by an additional One-Time Password (OTP) step.
Users are not required to set a password. They can authenticate each time by entering an e-mail code generated with a round-trip through their e-mail client. As such the *"forget password?"* feature is meaningless. If for any reason a user want to set or update their password, they can do so through the Update Password Page after login.
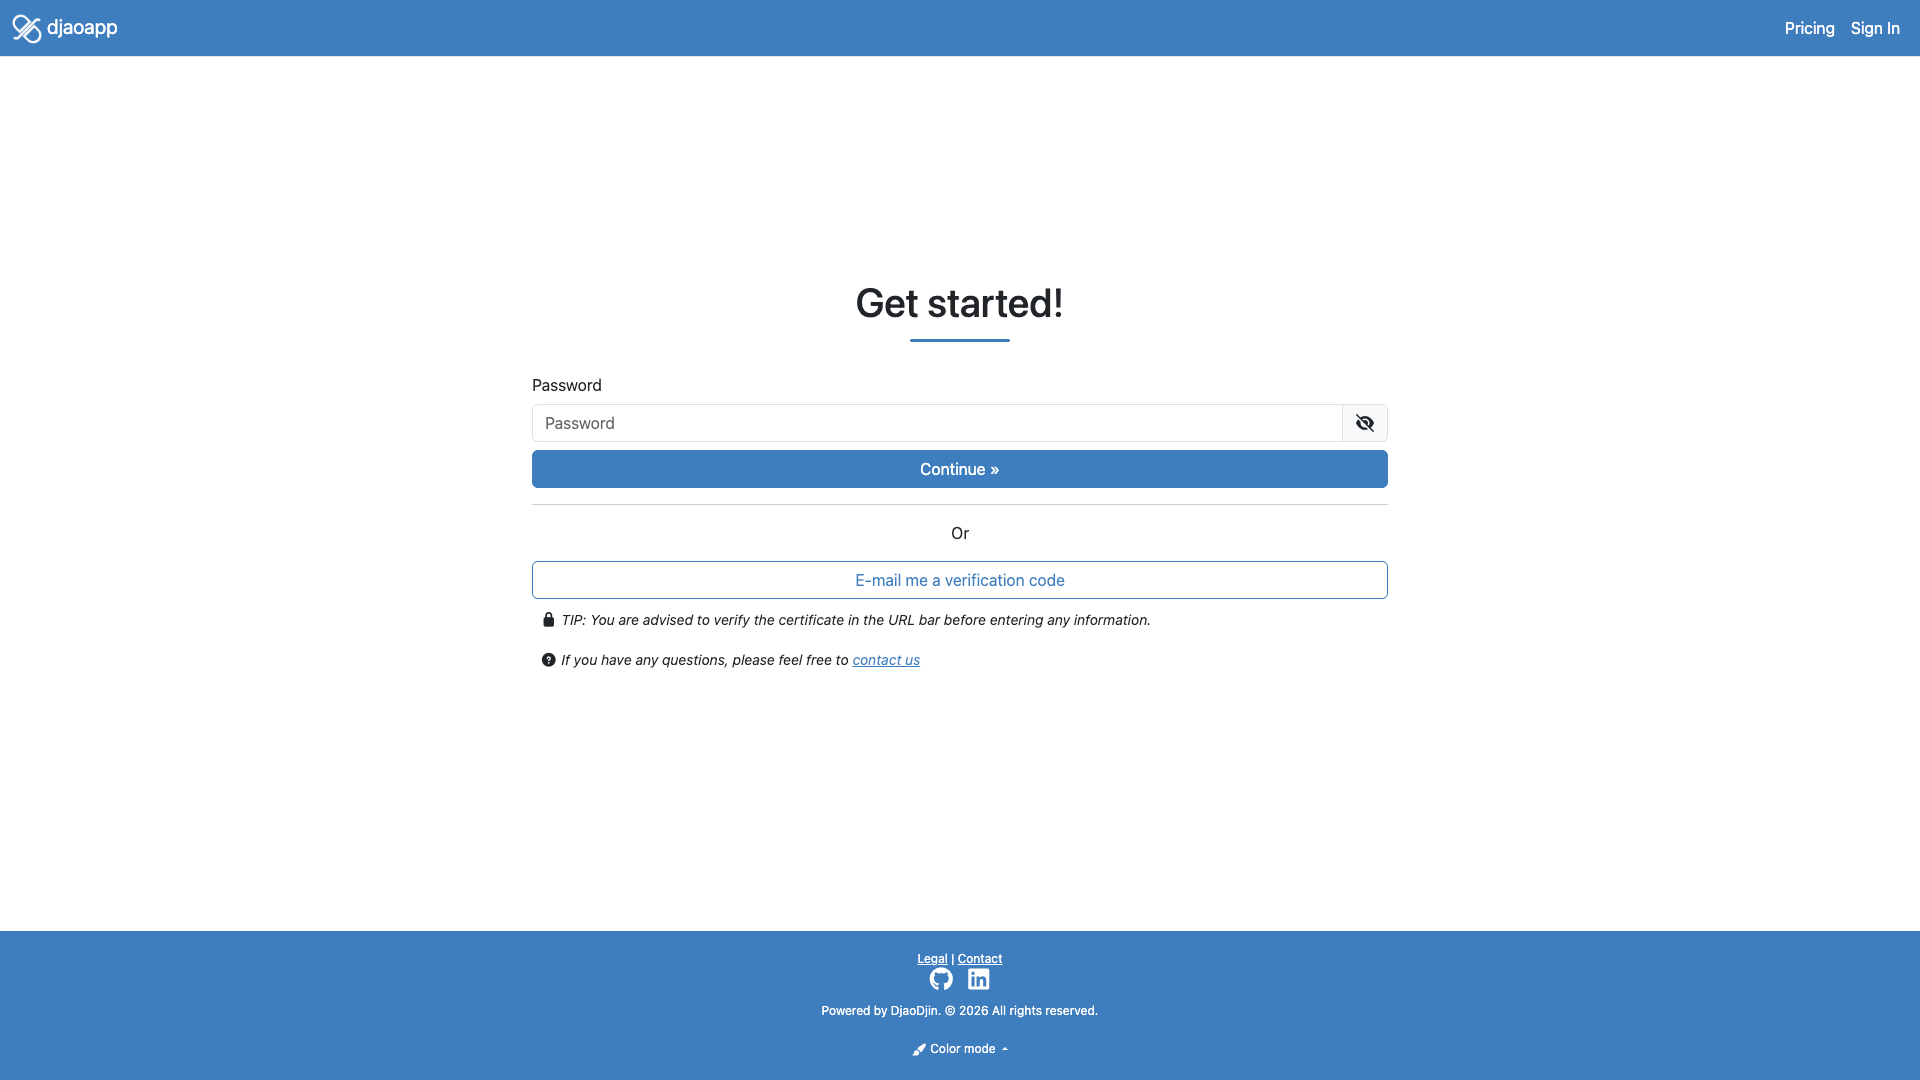
Password
Passwords are in the something you know category. This means that as long as your password is not easily guessable and you can remember it, it is very difficult to steal. As something solely stored in your head, passwords also have the advantage to support self-incrimination defenses in most places.
Email verification
Your site can send a one-time link or a one-time code to a user that is later used to verify the user has access to that e-mail address.
Back links are convenient to a user (just click it) but with the amount of phishing e-mail sent around, many enterprise security teams will stress the "do not click a link in an e-mail" cybersecurity policy. Furthermore many enterprises e-mail servers will also be configured to lower scores on e-mail with links in them. As a result, sending one-time codes instead of one-time links is also available.
Phone verification
Phone verification works the same as e-mail verification. One-time backlinks are convenient if a user access your site on a smart phone. Codes are otherwise more convenient when a user logs into your site on a Desktop computer.
 NOTES
NOTES
Due to additional cost to send SMS to a phone, please contact us to enable phone verification on your site.
OTP verification
Your site supports Time-based One-Time Password (T-OTP) on a per-user basis. These are 6 digits code that are randomly generated at regular intervals from an initial seed. When enabling OTP, a user is presented with an initial seed as a QR code. The user will typically scan this QR code with a OTP authenticator app (ex: Google Authenticator). After which, when asked about the OTP by your site, they can read it in their authenticator app.
Because there is no communication prior to authentication through the OTP code between a user and your site, OTP are usually considered very secure. Of course, you should be careful not to loose your phone (if that is where the authenticator app resides).
Nefarious bots considerations
Public pages are very much subject to bots automation, more so registration and login pages are prime targets for nefarious bots.
Both registration and login pages on your site support a specific rate limiting algorithm to prevent fake accounts creation and password brute force attacks respectively.
Register
It is possible to implement a variety of registration pages on your site, from frictionless registration, requiring just a full name and an e-mail (or phone number), to a ten fields form containing a password, full street address and/or your own custom fields.
Registration can also be disable entirely (How to enable/disable registration?) in which case, only users with an existing account can login.
Authenticated users
HTTP is a stateless protocol. Each HTTP request must thus be decorated with information to indicate who is making request. DjaoApp supports 3 ways to identify the user making the HTTP request on your site.
| Method | MFA support | server-side revocation |
|---|---|---|
| Cookie | yes | per user |
| JWT (what is it?) | yes | all users at once |
| API Key | no | per user |
By default the theme pages will generate a Cookie, while the auth APIs will generate JSON Web Tokens (JWT).
Onboarding after authentication
At this point the user is authenticated. These steps are thus not technically part of the authentication workflow. None-the-less they are common enough, especially on registration, that they will be mentioned here.
Signing terms of use
Accepting the terms of use for the Website can be done through a custom field on the registration page, but it can also be done as a separate step in the authentication workflow.
In cases you update the terms of use and want current users to accept the new terms before continuing, you can do so by updating the date after which terms of use must be signed and add a "Agreed to Terms of Use" rule on the pages requiring signature of the new agreement.
Connecting to a profile
User and profile accounts are separate concepts. This enables you to implement:
- a single login for multiple organization profiles
- a parent having access to their personal and their children profiles
As a result, a key step of onboarding is to either create a new profile or connect to an existing profile.
For B2C Websites that primarily deal with individuals, it is possible to bypass this step by creating an implicit profile from a registered user. This can be done:
-
At registration, by requiring a physical address (i.e. add
the
street_address,locality,region,postal_code, and/orcountryin your registration form). -
Through the
is_personalfield in a pricing plan, and a subscribed to plan access rule.
- Need help?
- Contact us
- Curious how it is built?
- Visit us on GitHub