Add a member or subscriber
As a provider, you can create new members and subscribers and invite those profiles to start using the product without them going through the checkout workflow.
It is useful in scenarios where:
- Your product is using subscription-based access control and you are collecting payment off-line (high tickets and/or direct customer connection).
- You want invite a beta tester to use the product without having to explain the choices they have to pick in your onboarding workflow.
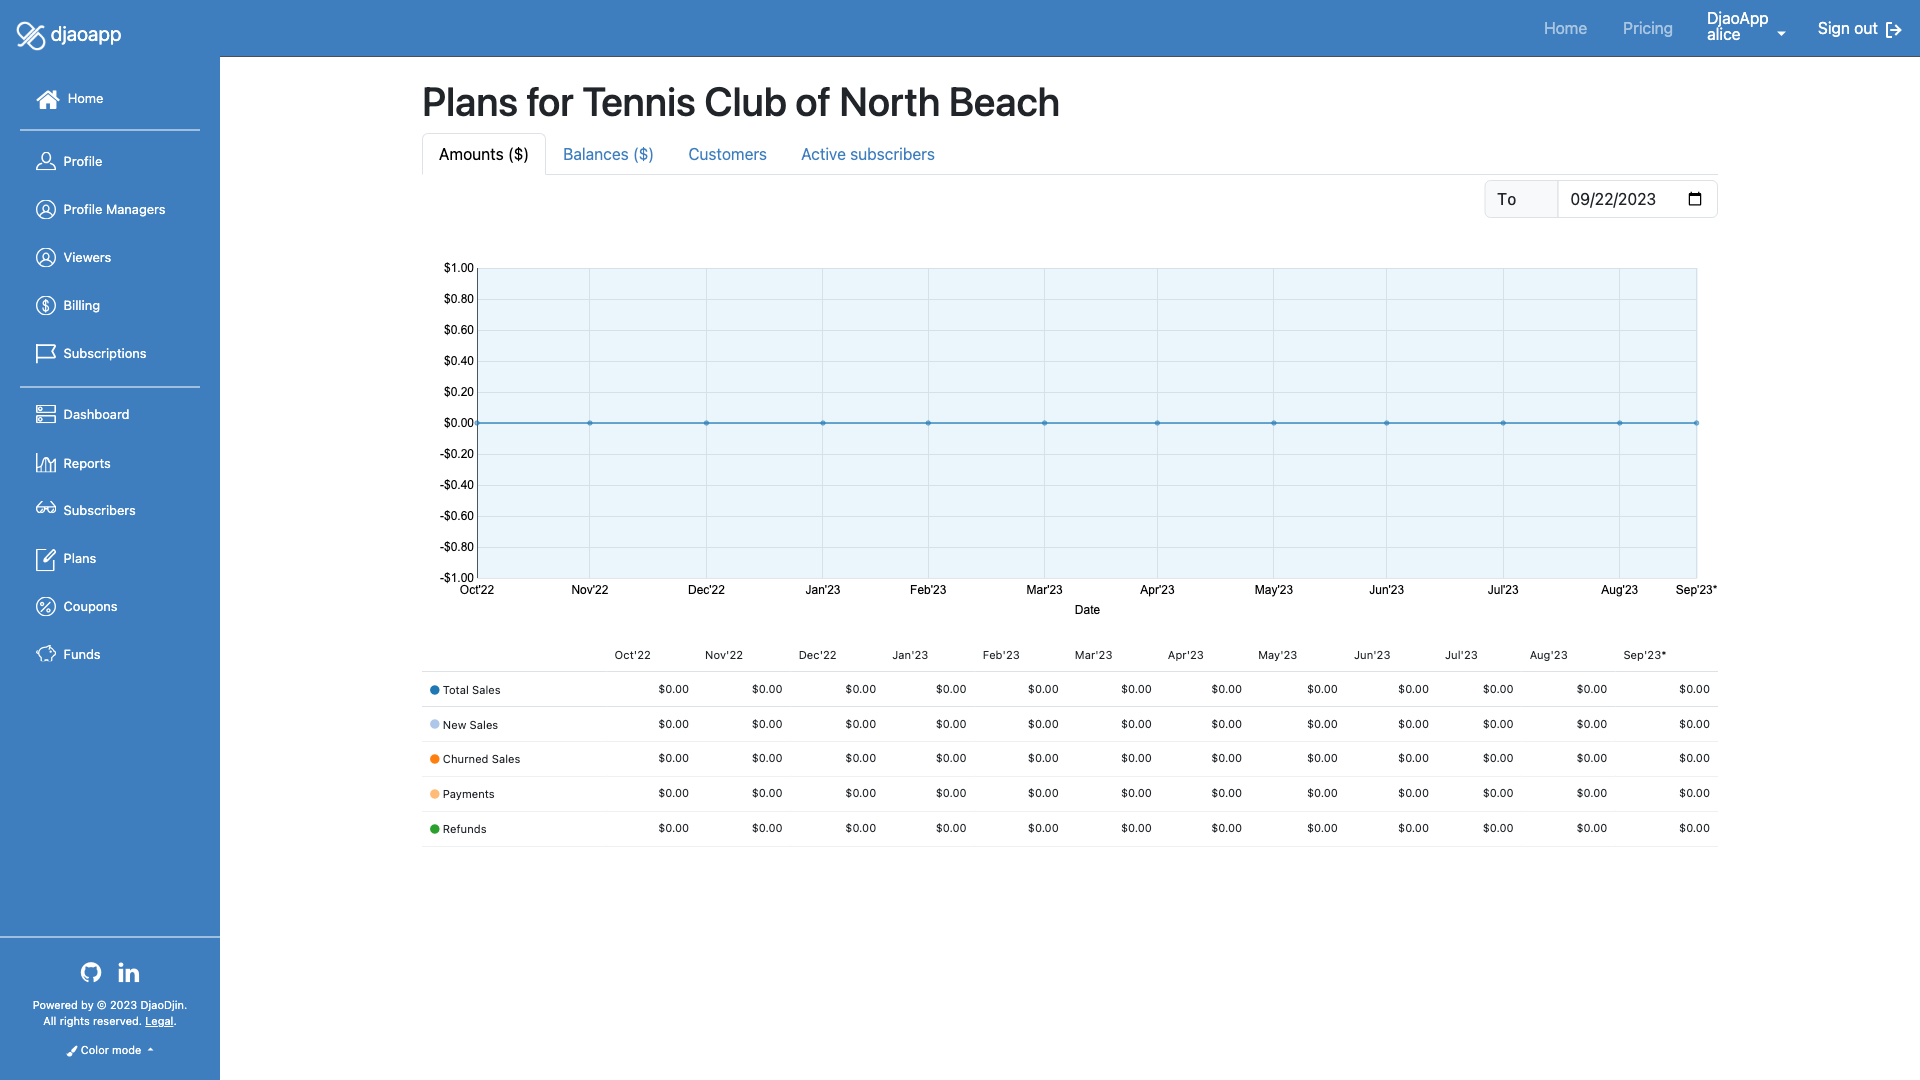
Click on your username at the top right of menu bar, then on Settings to land on the Dashboard page. Browse to the Plans page on the left sidebar.
Find the plan you want to add the new subscriber in the list under the metrics chart and click on it.
Click on the Plan Subscribers link to browse to the list of subscribers to the plan you selected to add the new subscriber to.

Enter the information for the new subscriber
In the input field at the top of the Plan Subscribers page, start typing the name of the new subscriber. If some profiles match, they will be listed in the drop down. You can select one of them. In all cases click the Add subscriber button.
If the profile cannot be found, the invite box will show up. This is an opportunity to invite the profile to the product as a subscriber. Enter the information required and click Add subscriber again.

When skip_optin_on_grant is True, the subscriber is automatically
subscribed to the plan.
When skip_optin_on_grant is False, the subscriber will receive
a notification (subscription_grant_created)
that the subscription was granted. Within that notification is
a back_url to accept the subscription. A subscription is not
active until it hasd been accepted.